Bike Crank Removal Made Easy | How to Remove Square Taper Crank Arms
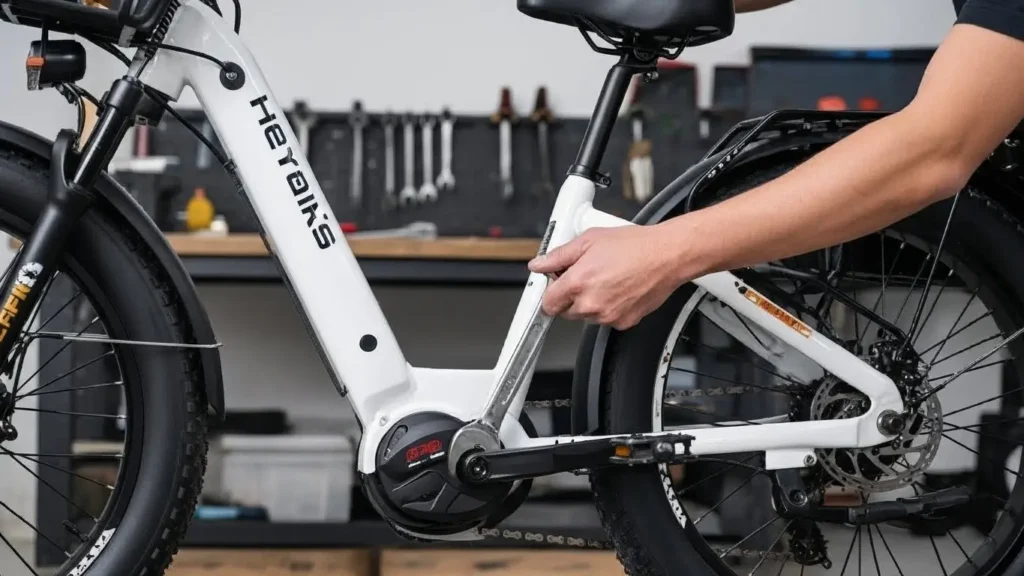
That annoying creak or click with every pedal stroke. A wobbly crank arm that feels like it might give up at any moment. Or maybe you’re just ready for an upgrade. Whatever the reason, the time has come to remove your bike’s crank arms.
If you’re staring at a classic square taper crankset, you might be wondering how to tackle this job without damaging your bike. The good news? With the right tool and technique, removing square taper crank arms is a straightforward task that any home mechanic can master.
This guide will walk you through the entire process, from identifying your crankset to the final, satisfying pull. We’ll cover the tools you need, provide a step-by-step walkthrough, and highlight the common pitfalls to avoid. Let’s get that crank off!
What is a Square Taper Crank?
Before we start wrenching, let’s quickly identify what we’re dealing with. The square taper is one of the oldest and most common bottom bracket and crank interfaces. It’s renowned for its simplicity, reliability, and lightweight design.
As the name suggests, it consists of a bottom bracket spindle with tapered square ends. The crank arms have a matching square hole that slides onto these tapered ends. When you tighten the crank bolt, the arm is forced onto the taper, creating a incredibly tight, secure friction fit.
- Key Characteristics: Look for a single bolt (usually 14mm or 15mm) in the center of the crank arm. Once you remove this bolt, you’ll see the square hole.
- Why It’s Tricky: That super-tight friction fit is what holds everything together under pedal power. It’s also why you can’t just wiggle it off by hand. You need a specific tool to break that fit safely.
The Essential Tool: The Crank Puller
This is non-negotiable. You absolutely must have a crank puller. Trying to remove a square taper crank without one will almost certainly lead to a damaged crank arm, a stripped thread, or both. A pry bar, hammer, or “gentle” persuasion are not the right tools for this job.
A crank puller is a simple, brilliant tool with two main threaded sections:
- An outer thread that screws into the crank arm itself.
- An inner pressing screw that, when turned, pushes against the bottom bracket spindle, pulling the crank arm off the taper.
Invest in a good-quality one—it’s a tool that will last a lifetime and save you from countless headaches.
The Complete Toolkit
Gather these items before you start:
- Crank Puller Tool: The star of the show.
- Socket Wrench or Large Hex Key: Typically 14mm or 15mm to remove the main crank bolt.
- Quick Degreaser & Rag: For cleaning the threads and interface once removed.
- A Small Amount of Grease or Anti-Seize Compound: For reassembly.
- Rubber Mallet (Optional): For a very light tap if the crank is stubborn, but use with caution.
Step-by-Step Guide to Removing Your Square Taper Crank
Follow these steps carefully, and you’ll have that crank arm off in minutes.
Step 1: Remove the Dust Cap
Most crank arms have a small plastic or metal dust cap covering the main bolt. Its job is to keep dirt and grime out. You can usually pry this off by gently levering a flat-head screwdriver behind it. Some simply unscrew by hand. Set this small part aside so you don’t lose it.
Step 2: Unscrew the Crank Bolt
Now you’ll see the main crank bolt. This is a large hex-head bolt (14mm or 15mm are most common). Fit your socket wrench or hex key and turn it counter-clockwise to loosen and remove it.
This bolt can be on very tight, especially if it hasn’t been removed in years. You may need to use some force or put a bit of extension on your wrench for leverage. Ensure your tool is fully seated to avoid stripping the bolt head.
Step 3: Prepare and Install the Crank Puller
This is the most critical part. Take your crank puller and unscrew the inner pressing screw (the part with the smaller, flat end) all the way out. You should now see that the outer part has two sets of threads.
- Thread the outer part by hand into the crank arm. The threads inside the crank arm are fine, so be gentle and make sure you’re threading it in straight. Screw it in until it’s snug and fully seated. Do not use a wrench for this initial step—cross-threading is a real risk and will ruin the crank arm.
Step 4: The Main Event: Activating the Puller
Now for the satisfying part. Take your wrench (usually included with the crank puller) and place it on the inner pressing screw.
- Slowly turn the inner screw clockwise. As you turn it, the tip of this screw will make contact with the end of the bottom bracket spindle.
- Continue turning. You’ll feel resistance as the tool begins to push the spindle away while simultaneously pulling the crank arm towards you.
- You might hear a faint creaking or popping sound—this is the sound of the crank arm breaking free from the taper. This is normal!
- Keep turning until the crank arm suddenly becomes loose and slides off the spindle.
If you feel extreme resistance that won’t budge, stop. Don’t force it. Ensure the outer part is fully threaded in, and double-check that you’re turning the correct part of the tool.
Step 5: Remove the Crank Arm and Clean Up
Once loose, unscrew the crank puller from the arm. You can now simply pull the crank arm off the spindle by hand. Congratulations! You’ve successfully removed a square taper crank.
This is a great time to clean the square taper interface on both the crank arm and the bottom bracket spindle with your degreaser and rag. A light coating of fresh grease on the spindle taper before reinstallation will prevent it from seizing in the future.
Troubleshooting Common Problems
Even with a straightforward process, things can get sticky.
- The Crank Bolt is Stuck: If the bolt won’t budge, apply a penetrating oil like Liquid Wrench or WD-40 Specialist Penetrant around the bolt head and let it sit for 10-15 minutes. This can help break down rust and corrosion. Ensure your tool is a perfect fit to avoid rounding the bolt.
- The Crank Won’t Budge with the Puller: If you’re turning the inner screw and nothing is happening, or the resistance feels impossibly high, stop. The most common cause is that the outer part of the puller is not threaded in deeply enough. Unscrew everything, re-thread the outer part in as far as it will go by hand, and try again.
- Stripped Threads in the Crank Arm: If the threads inside the crank arm are damaged, the puller won’t grip. This is a tough situation. Sometimes you can carefully re-tap the threads, but often the crank arm is a lost cause and will need to be replaced.
Reinstalling Your Crank Arm (The Reverse Process)
When you’re ready to put the crank arm back on (or install a new one), the process is simple but important to get right.
- Ensure the taper on the spindle and inside the crank arm is clean.
- Apply a very thin film of grease to the spindle taper. This prevents corrosion and makes future removal easier.
- Slide the crank arm onto the spindle, making sure it’s aligned straight.
- Hand-tighten the crank bolt, then use your wrench to tighten it firmly and securely. This is what creates the secure friction fit.
- Replace the dust cap.
Pro Tip: After your first ride, re-check the tightness of the crank bolt, as it can sometimes settle into the taper.
Helpful Takeaway
Removing a square taper crank isn’t about brute force—it’s about using the right tool for the right job. The humble crank puller is the key that safely and effortlessly breaks the powerful friction fit, turning a seemingly daunting task into a simple, satisfying piece of bike maintenance. Master this, and you’ve unlocked another essential skill in your home mechanic toolkit.