
Rad Power Bikes Display Not Turning On? 12 Easy Fixes
There is nothing quite as frustrating as gearing up for a morning commute or a weekend trail ride, swinging your leg over your RadRover or RadRunner, hitting the power button, and… nothing. A blank screen.
As a certified e-bike technician, I have seen this scenario hundreds of times. Whether you are riding a legacy RadCity or the newest RadWagon 5, a Rad Power Bikes display not turning on is one of the most common service calls we receive.
The good news? In about 80% of cases, the fix is something you can do at home in under ten minutes without any specialized tools.
In this comprehensive guide, we are going to walk through every possible reason your Rad bike display is blank-from simple “user error” fixes to deep-dive electrical troubleshooting.
Quick Checklist: The “I’m in a Hurry” Fixes
If you’re currently standing on a sidewalk trying to get to work, try these four things in order:
- Check the Key: If you have an older model, ensure the key is turned to the “ON” position (pointing toward the front of the bike).
- The 10-Second Hold: Hold the power button on the remote for a full 10 seconds.
- Reseat the Battery: Unlock the battery, slide it out, and slam it back in firmly.
- The Green Connector: Locate the wire coming out of the display. Find the green circular plug about 4 inches down, unplug it, check for bent pins, and plug it back in firmly.
Still nothing? Let’s dive into the technical details.
1. Understanding the Rad Power Electrical Loop
Before we start ripping wires apart, you need to understand how your bike “wakes up.”
Your Rad Power Bike isn’t just a battery and a motor. It’s a communication loop. When you press the power button on your display (or the UI remote), it sends a “wake up” signal to the controller (the silver box usually mounted behind the seat tube). The controller then asks the battery for high-voltage power.
If there is a break anywhere in this loop—due to a loose wire, a blown fuse, or a failed component—the display remains a dark, lifeless brick.
2. Battery Troubleshooting: It’s Not Always “Charged”
One of the most common complaints I hear is: “My Rad Power battery is charged but the display won’t turn on.”
Just because the lights on the battery show four bars doesn’t mean power is reaching the bike.
The “Sleep Mode” Reset
Modern Rad Power batteries (especially on the Plus and Safari models) have an integrated Battery Management System (BMS). If the bike hasn’t been used for a while, the BMS enters a deep sleep mode to protect the cells.
- The Fix: Plug the battery into the charger. Even if it’s full, the act of plugging it into the wall “wakes up” the BMS. Wait for the charger light to turn red, then green, then try the bike again.
The Key Cylinder (Older Models)
If you have a RadRover 5 or an older RadRunner, your battery has three key positions: OFF (Locked), ON (Locked), and OFF (Unlocked).
Many riders accidentally leave the key in the “OFF (Locked)” position. The display will never turn on in this state. Ensure the key is turned all the way clockwise.
3. The “Big Three” Connector Check
Rad Power Bikes use Julet connectors—those color-coded, water-resistant circular plugs. Over time, vibration and road salt can wiggle these loose.
The Display Connector (Green)
Follow the wire from the back of your LCD or LED display. You will find a green connector.
- Action: Pull it apart (don’t unscrew, just pull). Look for any green corrosion or bent pins.
- Pro Tip: If the pins are straight, apply a tiny bit of dielectric grease to the seal. This prevents moisture from causing a short circuit in the future.
The Main Wiring Harness (Large Black Connector)
Near the front of the bike, usually wrapped in a plastic mesh sleeve, is the main wiring harness. This is the “spinal cord” of your bike.
- Action: Ensure the large main connector is pressed firmly together. There are two arrows on the exterior of the plug; they must line up perfectly.
The Controller Connections
The controller is the “brain.” If your Rad bike display is blank, the controller might not be getting power. Locate the controller and check the thickest cables (usually black and red) coming from the battery tray. If these are loose, your bike is effectively unplugged.
4. Blown Fuses: The Hidden Culprit
This is the “aha!” moment for many Rad owners. Older Rad Power batteries have two replaceable fuses hidden under rubber caps on the back or side of the battery.
- The 40A Fuse (Large): This handles the motor power. If this is blown, the display might turn on, but the bike won’t move.
- The 5A Fuse (Small): This handles the charging and the signal to the display. If this 5A fuse is blown, your Rad Power bike won’t power on, even if the battery is 100% full.
How to Check the Fuse:
- Remove the battery from the bike.
- Locate the rubber covers labeled “Fuse.”
- Use needle-nose pliers to pull the 5A fuse (usually tan or orange).
- Hold it up to the light. If the metal filament inside is broken, the fuse is toast.
- Replace it with a standard automotive mini-fuse from any hardware store.
Note: Newer “Semi-Integrated” batteries (RadRover 6 Plus, RadCity 5 Plus) do not have user-serviceable fuses. If those fail, you typically need a battery replacement under warranty.
5. Identifying a Failed Controller
If you’ve checked the battery, the fuses, and the connectors, and your Rad Power screen is still not working, the issue might be the controller.
When a controller fails, it often “bricks” the system. A quick way to test this as a technician is the “unplug test”:
- Unplug the motor connector (the big plug near the rear wheel).
- Unplug the tail light.
- Unplug both brake lever sensors (the red connectors near the handlebars).
- Try to turn on the display.
If the display suddenly turns on, one of those components was “shorting out” the system. If it stays off, the controller itself is likely dead and cannot send the 5V power signal to the display.
6. How to Reset a Rad Power Bike Display
Sometimes the firmware in the display gets “hung.” This is common if you were riding in heavy rain or if there was a static discharge.
To perform a hard reset:
- Remove the battery.
- Hold the Power button on the display for 30 seconds. This drains the capacitors in the controller.
- Reinstall the battery.
- Hold the “Mode” and “Up” buttons simultaneously (on older LCD models) or just the Power button for 5 seconds.
While this isn’t a “factory reset” in the smartphone sense, it forces the hardware to re-initialize its boot sequence.
7. Rad Power Error Display: What If It Turns On, Then Off?
If your display flickers on for a second and then dies, or shows an “Error 21” or “Error 30,” your bike is trying to tell you something.
- Error 30: This is a generic “Communication Error.” It almost always means a loose connection in that green plug we discussed earlier or a pinched wire in the harness.
- Error 21: This indicates an abnormal current. Usually, this means the controller is protecting itself from a short circuit.
If you see these, the Rad display troubleshooting shifts from “power issues” to “signal issues.” Check your wiring harness for any spots where the frame might have pinched the wires, especially near the folding mechanism on a RadExpand or RadRunner.
8. When to Get a Rad bike display replacement
Is your screen physically damaged? Did you leave it out in a monsoon?
Rad Power Bikes use proprietary displays, but they are relatively affordable to replace. If you see “bleeding” (black ink-like spots) on the LCD or if the buttons no longer “click,” a Rad bike display replacement is your only option.
Alternative Upgrade: Many Rad owners take this opportunity to upgrade to the Eggrider or a third-party KT-Controller and Display. These allow for more customization, though they may void your factory warranty.
9. Advanced: Using a Multimeter
For the DIY experts, a multimeter is your best friend.
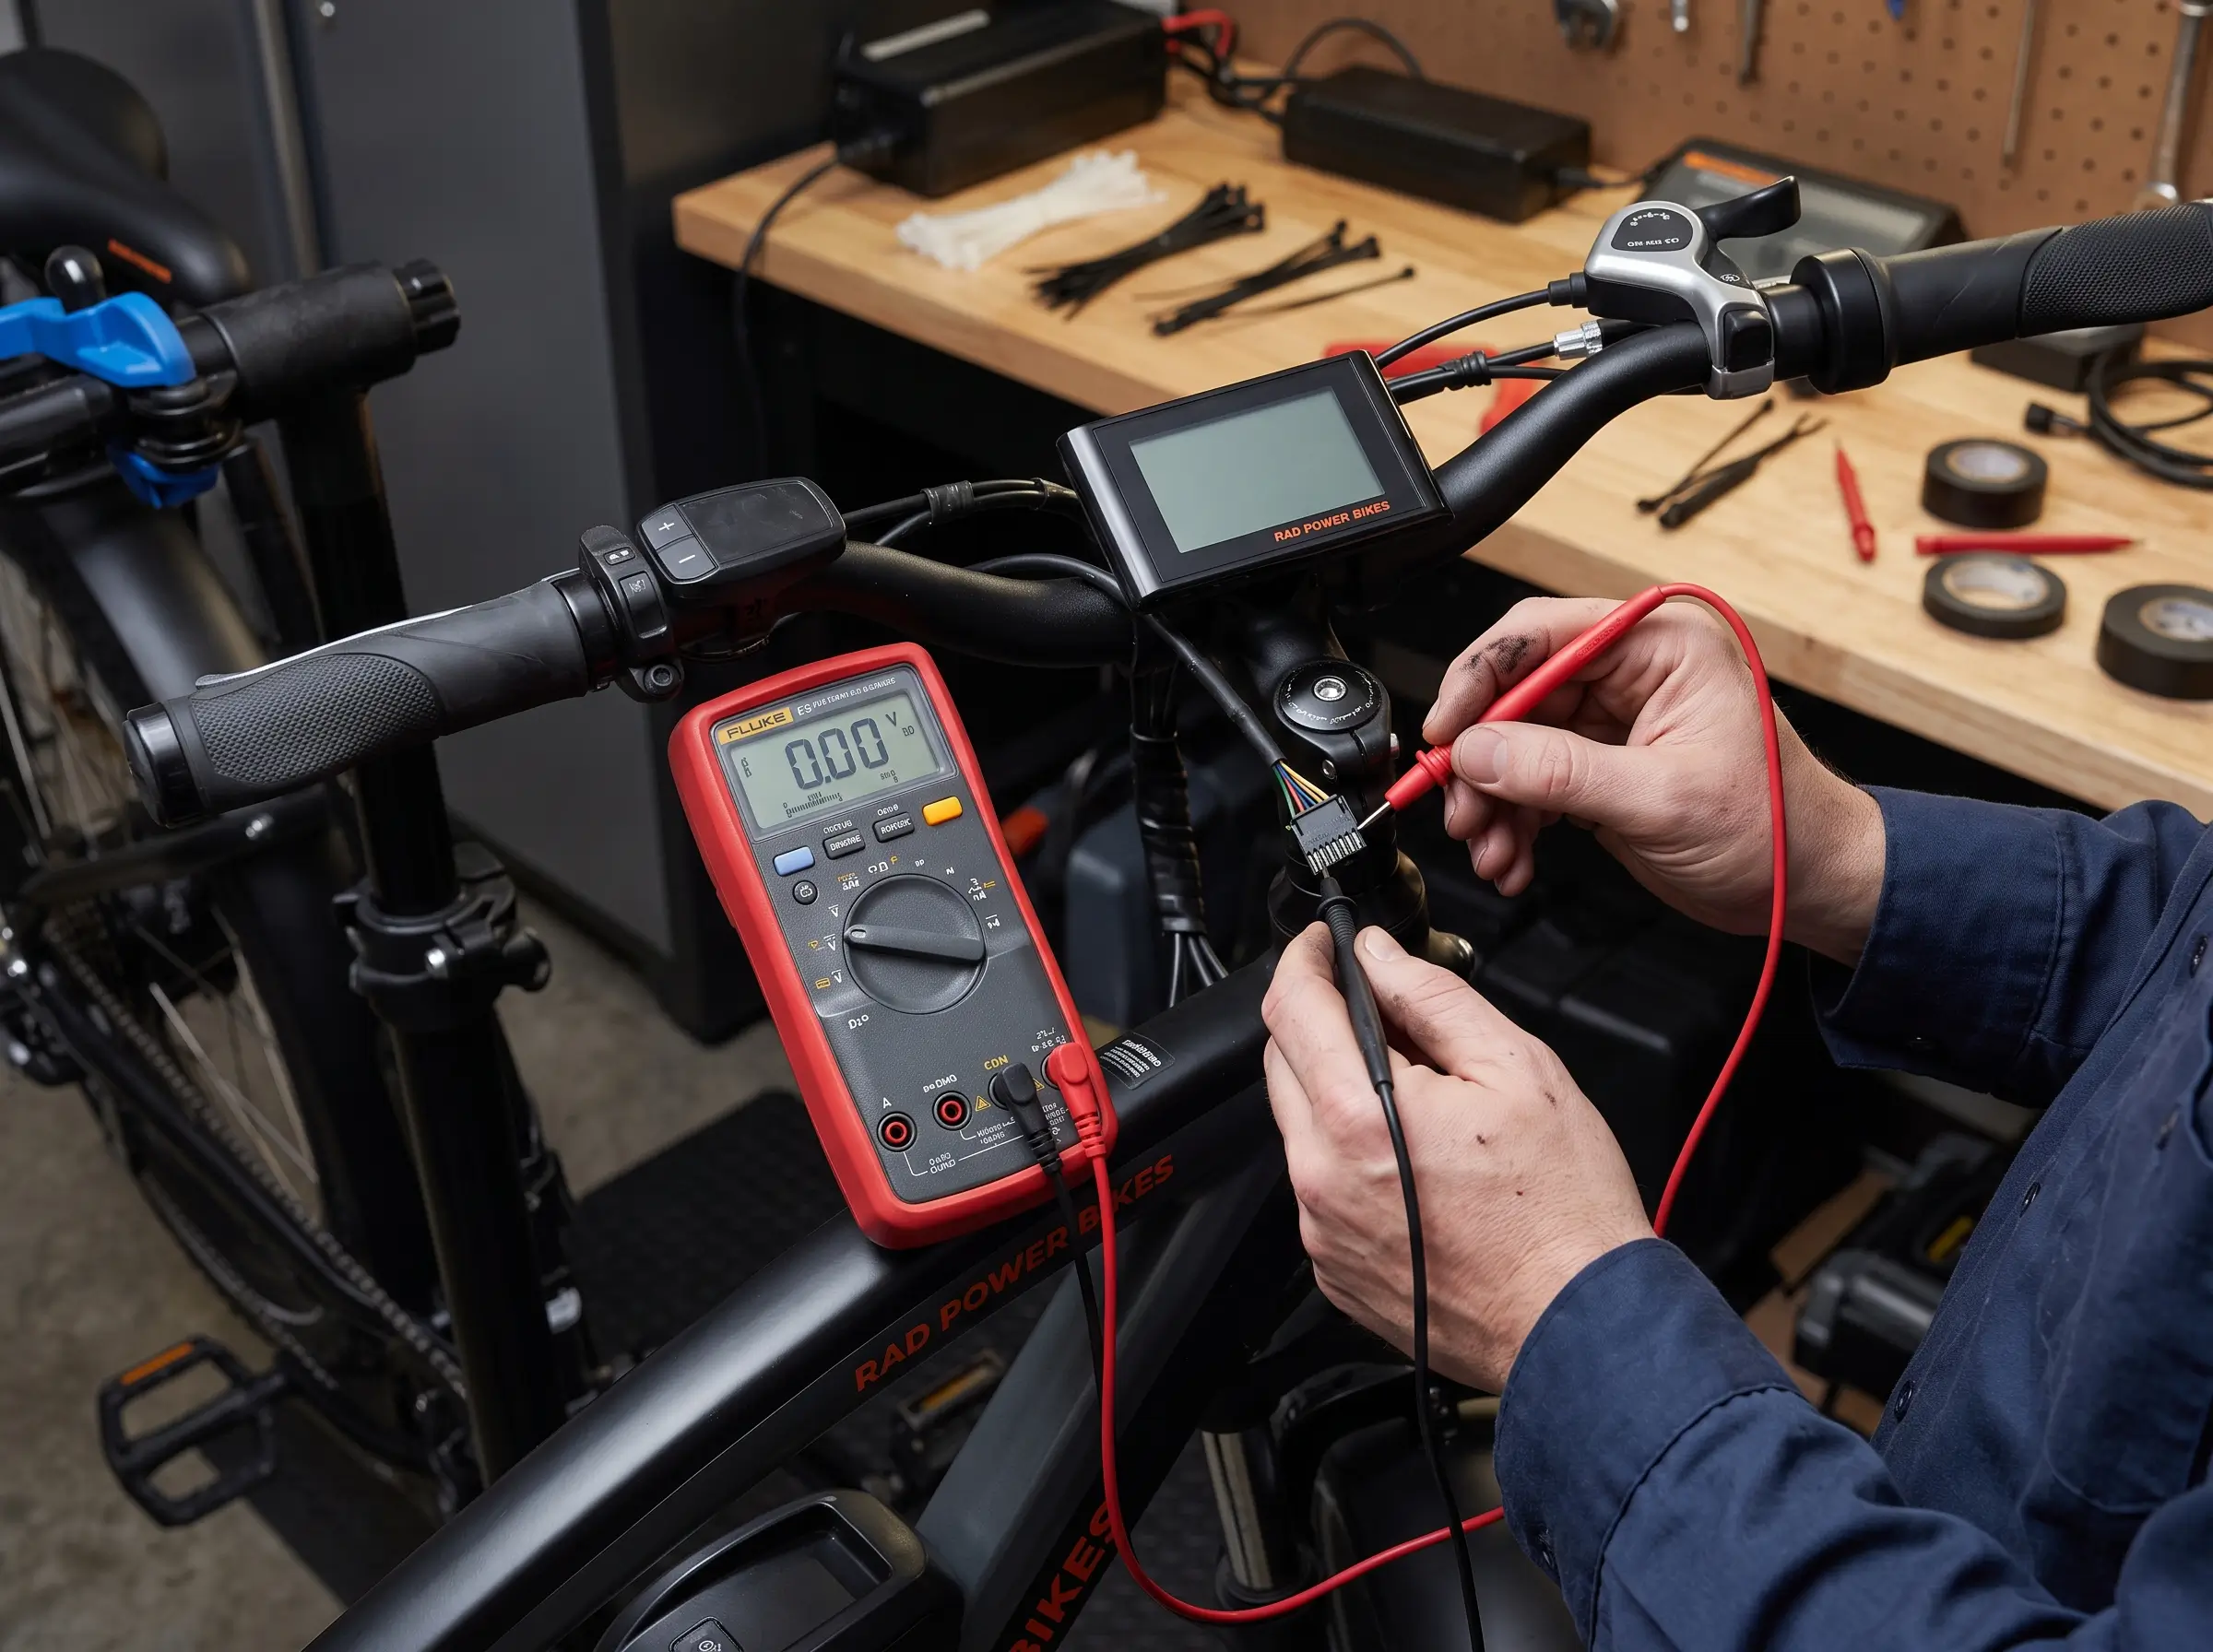
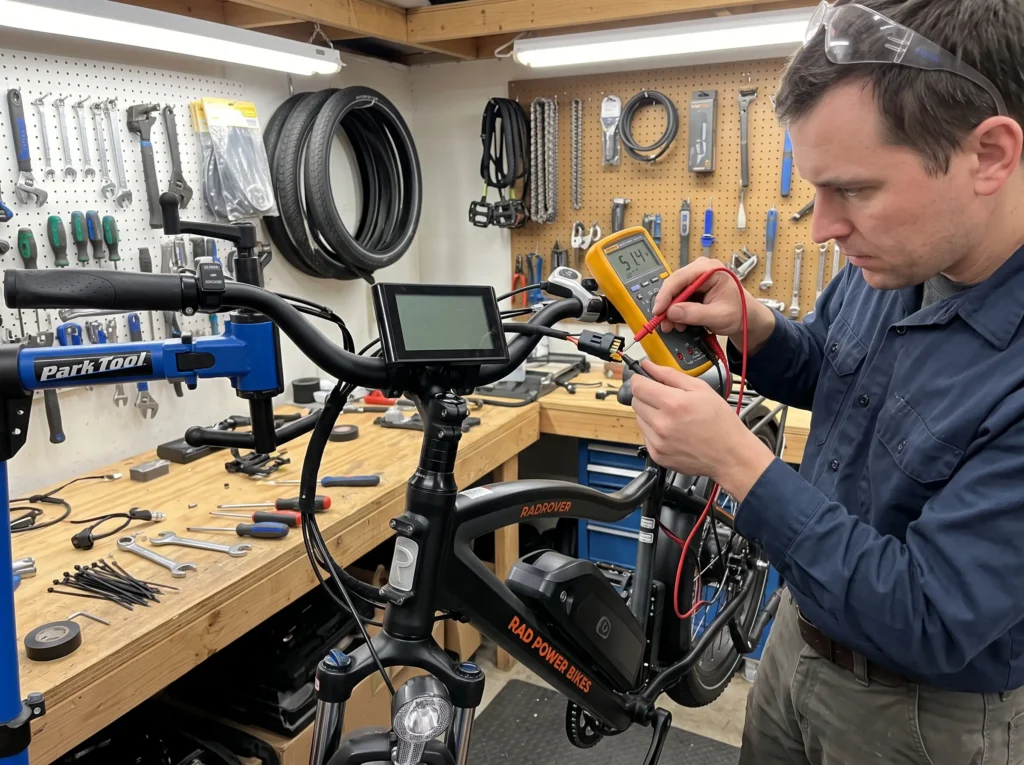
- Test the Battery: Set your multimeter to DC Voltage. Touch the probes to the positive and negative terminals on the battery cradle. You should see between 48V and 54V.
- Test the Display Lead: If the battery is outputting power, but the display is dead, you can test the pins on the green connector. You should see a 5V signal on one of those pins when the system is trying to power up. Warning: Be extremely careful not to bridge pins with your probe, or you will pop the controller.
10. Practical Maintenance Advice to Prevent Future Issues
Preventing Rad bike electrical issues is much easier than fixing them on the side of the road.
- Dielectric Grease: Apply this to every connector once a year. It creates a waterproof seal.
- Cable Management: Use zip ties to ensure no wires are dangling or rubbing against the tires or the steering column.
- Dry the Bike: If you ride in the rain, don’t just park the bike. Take a towel and dry the area around the battery terminals and the back of the display.
- Battery Storage: Never store your battery at 0%. If it sits empty for months, the BMS might “lock out,” preventing the display from ever turning on again.
11. Rad Power Bike Won’t Power On: Summary Table
| Symptom | Likely Cause | Fix |
|---|---|---|
| Blank screen, battery full | Blown 5A Fuse | Replace fuse (older models) |
| Blank screen, bike unused for months | Battery Sleep Mode | Plug into charger for 30 mins |
| Error 30 on screen | Communication Error | Reseat green display connector |
| Display flickers then dies | Pinched wire | Inspect harness for damage |
| Key is in, but screen is dark | Key Position | Turn key to the 3 o’clock position |
Essential Rad Power Bike Troubleshooting Tools
Whether you’re troubleshooting a display that won’t turn on or performing routine maintenance, having the right tools can save time, money, and frustration. The following items are affordable, beginner-friendly, and useful for diagnosing many common Rad Power Bike electrical problems.
1. Digital Multimeter
Recommended Products: AstroAI Digital Multimeter or KAIWEETS Digital Multimeter
Why You’ll Need It
A digital multimeter is one of the most valuable tools for any e-bike owner. It allows you to verify that your battery is supplying the correct voltage (typically between 48V and 54V when fully charged), helping you determine whether the battery or another component is causing the display to remain off.
Best For: Battery voltage testing and electrical diagnostics.
2. Dielectric Grease
Recommended Product: Permatex 22058 Dielectric Tune-Up Grease
Why You’ll Need It
A small amount of dielectric grease helps seal electrical connectors against moisture, dust, and corrosion. Applying it after cleaning the connectors can improve long-term reliability and reduce the risk of intermittent electrical problems.
Best For: Protecting display, battery, and controller connectors.
3. Replacement Fuse Kit
Recommended Product: Assorted Automotive Mini Fuse Kit (5A and 40A)
Why You’ll Need It
Some older Rad Power Bike battery systems use replaceable fuses. Carrying a few spare fuses can help you restore power quickly if a fuse fails while you’re away from home.
Best For: Older Rad Power Bike models with user-replaceable battery fuses.
4. Electrical Contact Cleaner
Recommended Product: WD-40 Specialist Electrical Contact Cleaner
Why You’ll Need It
Electrical contact cleaner safely removes dirt, oxidation, and corrosion from electrical connectors without leaving residue. It’s an excellent first step when troubleshooting intermittent display or power issues.
Best For: Cleaning battery, display, and controller connectors.
Frequently Asked Questions
Can I ride my Rad Power Bike if the display won’t turn on?
Technically, no. The display acts as the “ignition” for the controller. Without the display sending a signal to engage the system, the motor will not provide pedal assist or throttle.
How do I know if my Rad Power controller is bad?
If you have confirmed that the battery is outputting 48V+ and your display is known to be working (tested on another bike), but the system won’t power up, the controller’s internal voltage regulator has likely failed.
Does cold weather affect the Rad Power display?
Yes. In extreme cold (below -4°F / -20°C), LCD screens can become sluggish or fail to initialize. Bring your battery and display (if removable) inside to warm up before riding.
How much does a replacement Rad display cost?
A standard replacement LCD from Rad Power Bikes usually costs between $50 and $99, depending on the model.
12. Conclusion: When to Contact Support
If you have gone through this list-checked the battery, replaced the fuses, reseated the green Julet connectors, and performed a hard reset-and your Rad Power Bikes display is still not turning on, it is time to contact Rad Power Bikes support.
Rad has an excellent warranty program. If your bike is less than a year old, a dead controller or display is typically covered. When you call them, tell them exactly which steps you have already performed. This will save you 45 minutes of “tech support script” time and get your replacement parts shipped faster.
Final Expert Tip: Always keep a spare 5A and 40A fuse in your bike’s saddlebag. It is a $0.50 part that can prevent a $50 Uber ride home.
Disclaimer: Working on e-bike electronics can be dangerous. Always remove the battery before inspecting wiring or fuses. If you are uncomfortable with electrical troubleshooting, take your bike to a local certified e-bike mechanic.


![[Reviewed: Canyon Roadlite WMN CF 8.0 - A Fitness Bike that Feels Like Freedom]](https://www.e-biketools.com/wp-content/uploads/2026/01/Reviewed-Canyon-Roadlite-WMN-CF-8.0-A-Fitness-Bike-that-Feels-Like-Freedom-2-768x432.webp)