E-Bike Brake Adjustment Guide: How to Tune Mechanical & Hydraulic Brakes for Safety
Your brakes are the most critical safety feature on your e-bike. Because electric bikes are significantly heavier and travel at higher speeds than standard bicycles, a well-adjusted braking system isn’t just a convenience—it’s a necessity for safe riding.
Whether your e-bike is equipped with mechanical or hydraulic disc brakes, regular adjustments are key to maintaining optimal stopping power, minimizing noise, and extending the lifespan of your rotors and brake pads.
In this comprehensive guide, we’ll walk you through identifying common brake issues, making precise adjustments, and recognizing when it’s time for a component replacement.
Quick Answer
To adjust your e-bike brakes, start by inspecting the brake pads and rotor for wear or contamination. If the rotor rubs, re-center the caliper. For mechanical brakes, adjust the cable tension; for hydraulic brakes, you may need to bleed the system if the lever feels spongy. Regular inspections are key to maintaining reliable stopping power and ensuring your safety.
Why Regular Brake Adjustments Are Crucial
Routine maintenance of your braking system offers a multitude of benefits that directly impact your riding experience:
- Shorter Stopping Distances: Quicker, more predictable stops in traffic and on trails.
- Superior Braking Control: Enhanced modulation for confident handling in all conditions.
- Extended Component Life: Prevents uneven wear on pads and rotors, saving you money.
- Quieter Braking: Eliminates annoying squeaks and squeals.
- Enhanced Safety: A well-maintained system reduces the risk of brake failure.
- Greater Confidence: Ride with peace of mind on descents and in emergencies.
Small issues like a slight rub or a spongy lever can quickly escalate into more significant and expensive problems if left unaddressed.
Understanding Your E-Bike’s Braking System
Most modern e-bikes use one of two disc brake types. Understanding your system is the first step to proper maintenance.
| Feature | Mechanical (Cable-Actuated) Disc Brakes | Hydraulic Disc Brakes |
|---|---|---|
| Mechanism | Steel cable pulls a lever on the caliper. | Sealed brake fluid transmits force to the caliper. |
| Pros | Affordable, easy to adjust, simple maintenance, easy roadside repairs. | Excellent stopping power, smooth lever feel, self-adjusting for pad wear, minimal maintenance. |
| Cons | Cable stretch requires frequent adjustments, less overall braking power. | More expensive, bleeding is a complex process requiring special tools. |
| Best For | Budget-conscious riders, commuters, DIY enthusiasts. | Performance riders, heavy e-bikes, all-weather commuters. |
Signs Your E-Bike Brakes Need Attention
Don’t wait for complete brake failure. Address these warning signs immediately:
- Squealing or Squeaking: Often caused by contamination or glazed pads.
- Rotor Rubbing: A persistent scraping sound when the wheel spins.
- Weak Stopping Power: The bike takes longer to stop than it used to.
- Lever Pulls to the Handlebar: A clear sign of air in the system (hydraulic) or cable stretch (mechanical).
- Spongy Lever Feel: A mushy feeling that lacks firm resistance.
- Pulsing or Vibrating During Braking: Usually indicates a warped rotor.
- Bike Pulls to One Side: Uneven pad engagement on one side of the rotor.
Essential Tools for Brake Adjustment
Before you begin, gather the necessary tools. For most adjustments, you’ll need:
- Allen (Hex) Wrench Set (Metric)
- Torque Wrench (To prevent over-tightening and damaging components)
- Clean Microfiber Cloth
- Isopropyl Alcohol (For cleaning rotors and pads)
- Flashlight or Headlamp
- Bike Repair Stand (Highly recommended for easier access and a stable platform)
For Hydraulic Brakes, you’ll also need:
- Manufacturer-Specific Bleed Kit
- Correct Type of Brake Fluid (e.g., DOT 5.1 or Mineral Oil – never mix them!)
Step-by-Step Brake Adjustment Guide
Here is a systematic approach to diagnosing and tuning your brakes.
1. Inspect the Brake Pads
Before any adjustment, check the condition of your pads. Look for:
- Worn Friction Material: Replace pads before the material thickness drops below 1mm.
- Contamination: Shiny, glazed, or oily spots.
- Uneven Wear: Could indicate a caliper alignment issue.
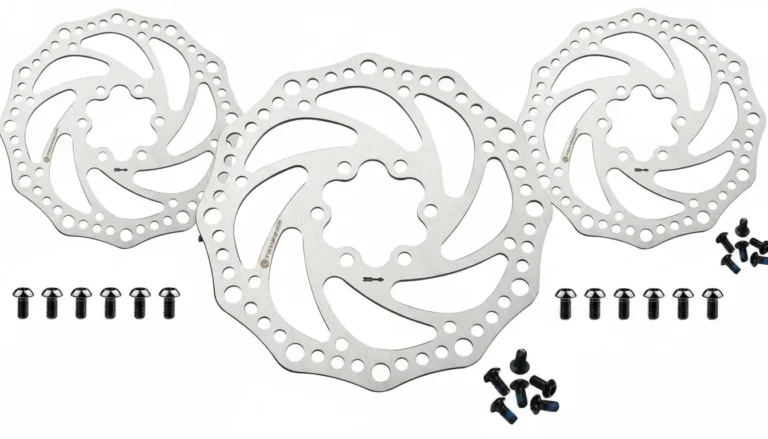
2. Inspect the Rotor
Spin the wheel and visually inspect the rotor. Look for:
- Wobble: An out-of-true rotor will rub against the pads.
- Deep Grooves: Excessive wear or scoring from a stuck pad.
- Surface Contamination: Oil or dirt on the braking surface.
- Loose Rotor Bolts: Check that all bolts are snug.
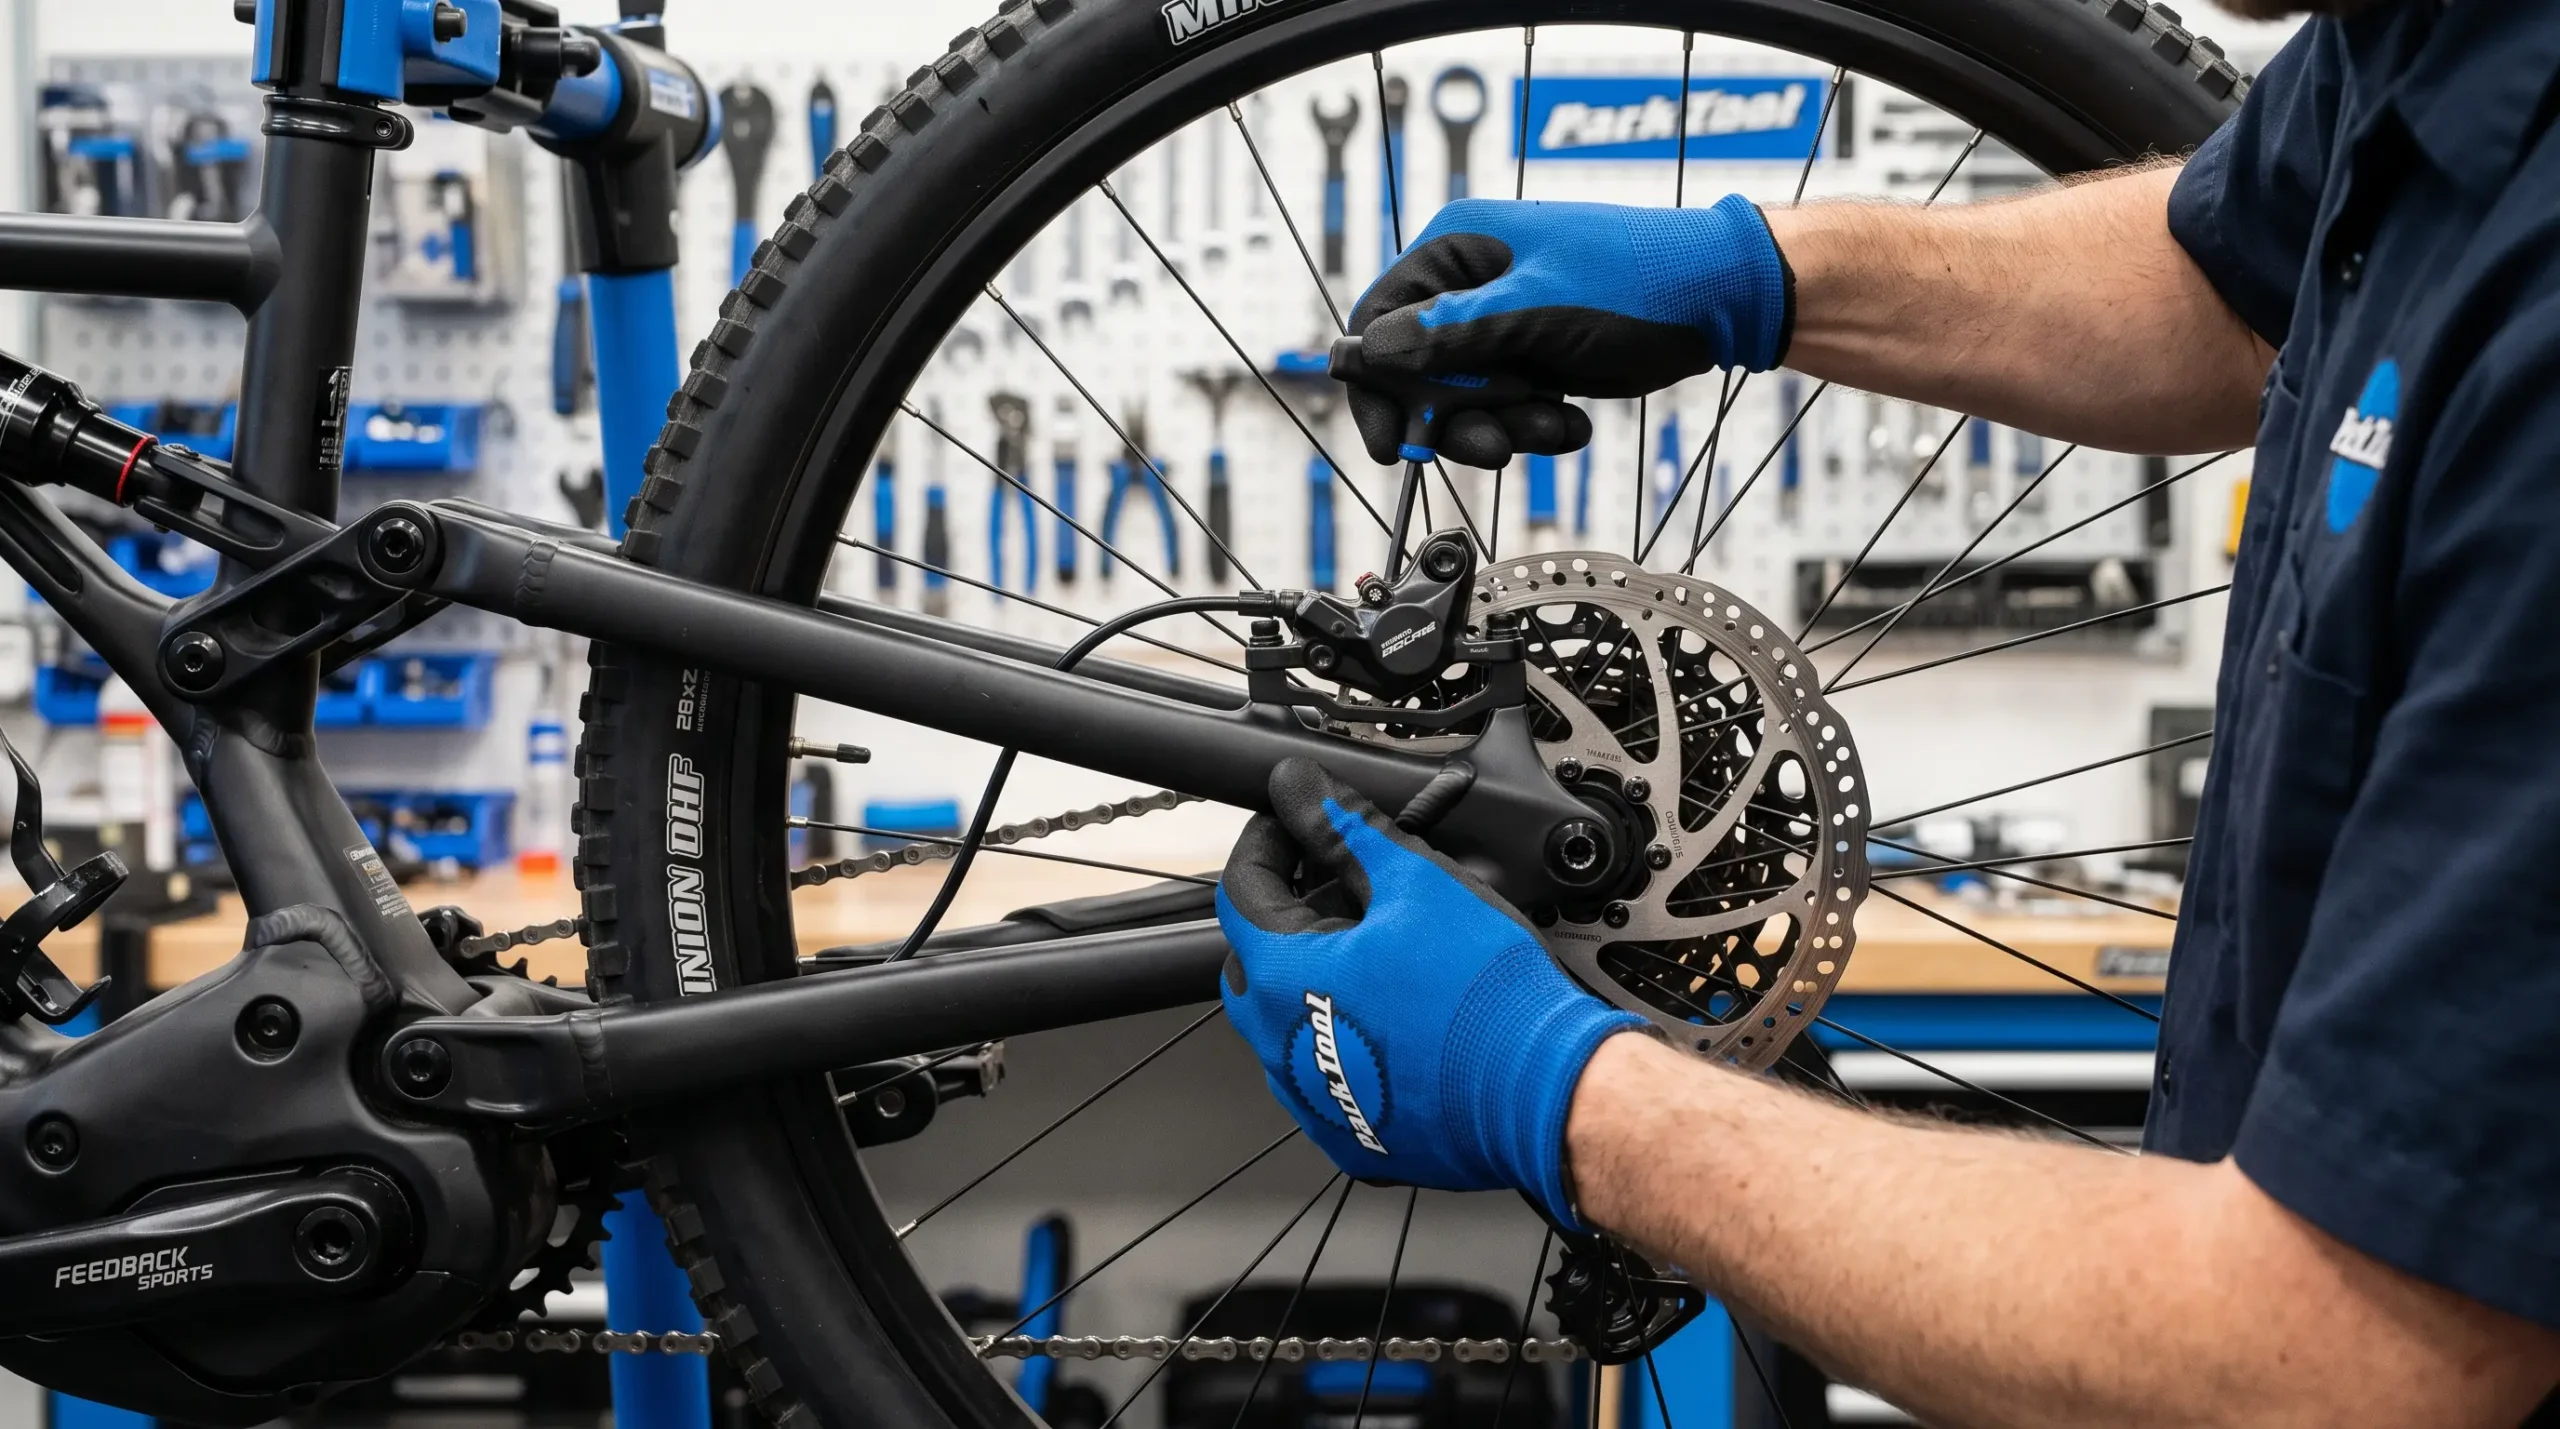
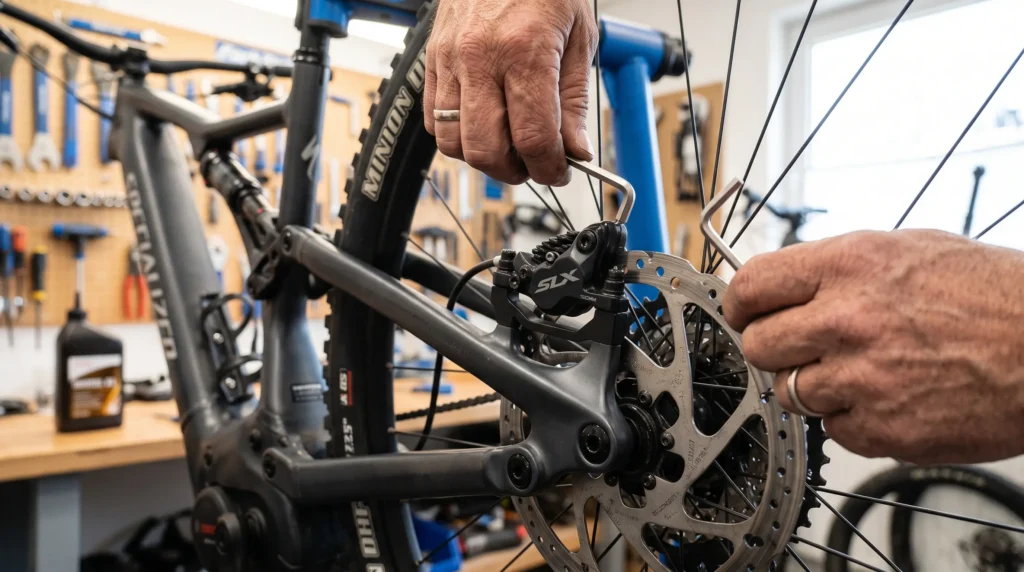
3. Center the Brake Caliper (Fix Rotor Rub)
Rubbing is typically a sign of a misaligned caliper. Here’s the simplest way to fix it:
- Loosen the two caliper mounting bolts just enough that the caliper can move slightly side-to-side.
- Firmly squeeze and hold the brake lever. This pushes the pads tight against the rotor, centering the caliper.
- While holding the lever, evenly tighten the mounting bolts in a star pattern to the manufacturer’s recommended torque specification (usually around 6-8 Nm).
- Release the brake lever and spin the wheel. The rotor should spin freely with no rubbing sound.
4. Adjusting Mechanical Disc Brakes
If your lever pulls too far back, you need to adjust the cable tension.
- Use the Barrel Adjuster: Turn the barrel adjuster (located on the lever or caliper) counter-clockwise to increase cable tension. Turn clockwise to decrease tension. Test the lever feel and repeat until the lever has a firm feel with a small amount of free-stroke.
- Adjust Cable at the Caliper: If you’ve maxed out the barrel adjuster, loosen the cable anchor bolt on the caliper, pull the cable tighter, and re-tighten the bolt securely.
5. Adjusting Brake Pad Clearance (Mechanical Brakes)
Many mechanical calipers allow you to adjust the inner and outer pad positions. This is useful for fine-tuning the lever feel. Adjust the pads so the rotor spins freely but the lever engages without excessive travel.
Hydraulic Brake Adjustments
Hydraulic systems are “self-adjusting,” meaning they automatically compensate for pad wear. You don’t adjust the pads directly.
If the lever feels soft or spongy, it’s likely due to:
- Air in the System: This requires a full or partial brake bleed to remove air bubbles.
- Worn Brake Pads: The caliper may have extended so far that the lever hits the handlebar.
- Fluid Leak: Inspect the system for wet spots.
Important: Bleeding hydraulic brakes is a precise procedure. If you are not comfortable with the process, take your e-bike to a professional bike mechanic.
Maintenance: Cleaning & Bedding In
Cleaning Brake Components
Clean rotors regularly with isopropyl alcohol and a clean lint-free cloth.
Never use:
- WD-40 or similar penetrating oils.
- Chain lubricants.
- Degreasers on brake pads (they absorb contamination).
- Silicone-based sprays.
Contamination is the #1 killer of brake pads. If your pads are contaminated, the best solution is usually replacement.
Bedding In New Brake Pads & Rotors
Bedding-in is the process of transferring a thin, even layer of friction material from the pads to the rotor, maximizing braking power.
- Find a safe, flat area with no traffic.
- Accelerate to a moderate speed (10-15 mph).
- Apply the brakes firmly to slow down to a walking pace, but do not come to a complete stop.
- Repeat this process 15-20 times. The brakes will begin to feel much more powerful.
- Allow the brakes to cool completely before riding aggressively.
Maintenance Schedule: When to Check Your Brakes
| Frequency | Action |
|---|---|
| Before Every Ride | Quick visual check, squeeze levers for firmness, spin wheels for rotor rub. |
| Monthly | Inspect rotor condition for warps or wear, and check pad thickness. |
| Every 500-1,000 Miles | Conduct a full brake inspection, replace pads if necessary, bleed hydraulic brakes. |
| After Wet/Muddy Rides | Clean the rotors and inspect the pads for contamination. |
Common Brake Problems and Solutions
| Problem | Likely Cause | Solution |
|---|---|---|
| Brake Squeal/Noise | Dirty pads/rotor, glazed pads. | Clean rotor with alcohol. Replace contaminated or glazed pads. |
| Rotor Rub | Caliper misalignment, warped rotor. | Re-center the caliper. If rotor is warped, replace it. |
| Weak Stopping Power | Worn pads, contaminated pads. | Replace brake pads. Ensure you bed them in properly. |
| Soft/Spongy Lever | Air in hydraulic system. | Bleed the brakes to remove air. Check for fluid leaks. |
| Lever Pulls Too Far | Cable stretch, worn pads. | Adjust cable tension (mechanical). Replace worn pads (hydraulic). |
Safety Tips & When to See a Pro
- Always use a torque wrench. Over-tightening can strip threads or damage parts.
- Test your brakes in a safe area after every adjustment before your first real ride.
- Replace worn pads immediately. Don’t risk riding on metal backing plates.
- Use compatible parts. Only use pads and rotors recommended by your brake manufacturer.
- Hydraulic brakes are complex. If you lack experience or the correct tools, a professional bleed is a worthwhile investment.
Frequently Asked Questions (FAQ)
Why are my new e-bike brakes squealing?
New pads may need to be bedded in. If the noise persists, the rotors or pads may be contaminated with oil or grease from the manufacturing process.
How long should e-bike brake pads last?
Lifespan varies dramatically. An aggressive rider in hilly terrain might get 200-300 miles, while a commuter on flat roads can get 1,000+ miles. Always inspect, don’t estimate.
Should I use the front or rear brake first?
Use both brakes simultaneously. The front brake provides most of your stopping power, but relying on it alone can cause you to go over the handlebars.
Can I use regular bike brake pads on my e-bike?
Not always. E-bikes are heavier and faster, creating more heat. Use brake pads specifically designed for e-bikes or heavy-duty use. They often feature more heat-resistant compounds.
Why is my rotor rubbing after I just put my wheel back on?
The wheel may not be fully seated in the dropouts. Release the quick-release or thru-axle, wiggle the wheel to ensure it’s seated correctly, and then re-tighten. You may then need to re-center the caliper.
Key Takeaways
- Inspect Regularly: A quick check can prevent a serious failure.
- Center the Caliper: This is the most common fix for rotor rub.
- Adjust Cable Tension: Essential for maintaining a firm lever on mechanical brakes.
- Keep it Clean: Oil and dirt are the enemy of stopping power.
- Replace Pads Proactively: Don’t wait until they are metal-on-metal.
- Bleed Hydraulic Brakes: Do this if the lever feels spongy.
- Test Before You Ride: Always verify your work in a safe area.
Conclusion
Properly adjusted brakes are the cornerstone of a safe and enjoyable e-bike experience. By integrating regular inspections and maintenance into your routine, you’ll ensure your bike has the stopping power needed for any situation-from busy city streets to challenging trails.
A few minutes of care can dramatically extend the life of your components, save you money, and, most importantly, keep you safe on every ride.
Ready for more e-bike maintenance tips? Check out our related guides below!